So hello again dear diary. In this part I’m going to discuss a bit of the actual setup I have bit more in depth and how this general works for me.
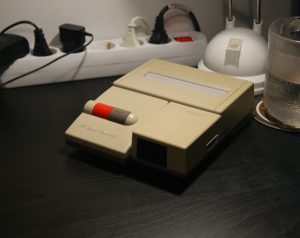
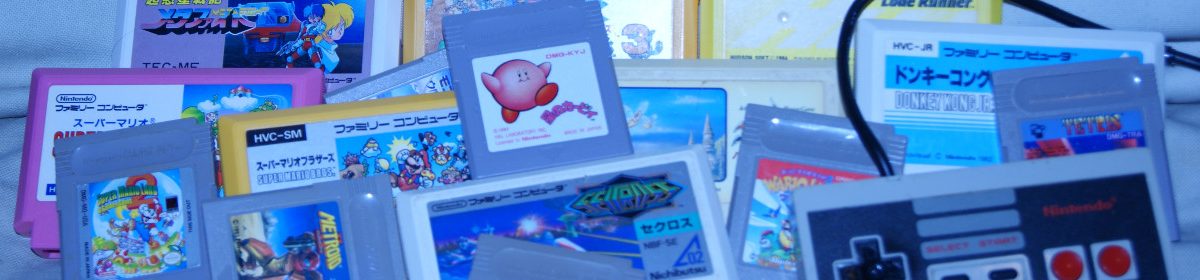
To begin with, let’s start with the AV Famicom I have: the system runs on MOS 6502 processor, alongside with the NES PPU. The Picture Processing Unit can do 8 x 8 or 8 x 16 pixels sized sprites, each of which can have four colours at the same time. The PPU (nesdev wiki) can show 25 colours at once (out of 54), and has support for showing 8 sprites per scanline without flicker (and total of 64 object sprites displayed at a time). The video output it puts out is your typical NTSC/PAL resolutions, so the system actually uses two different versions of the PPU for PAL and NTSC regions. The games themselves are loaded from cartridges, that can contain as little as 8 kilobytes of memory, and at least 1024 kilobytes with the use of MMC5 chip. The way the cartridge bus was designed was to have one chip loading the different memory banks, called memory mapper. These mapper chips were used to map more memory for CPU/PPU use than the address space would otherwise allow. So in non-technical terms, better chips make your game size bigger. These increasing ROM memory sizes meant that as technology processed and memory prices lowered, the games could look and sound better (alongside the different developers learning all kinds of different tricks to cram more stuff to the screen).
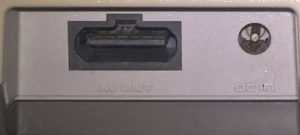
One noteworthy difference on Famicom compared to NES is the absence of 10NES chip (which is also absent from top loading NES). This was used as lockout feature, so Nintendo had monopoly for producing games for the NES. The system itself worked basically like this: both the NES and cartridge (“Game Pak”, as Nintendo called them) both had a dedicated chip, and upon turning on the system the chip in system pulled the CPU reset high until it got the authentication code off from the cartridge. Later on, Atari actually managed to get hold of the Nintendo patent for the chips, which they cloned for themselves and started producing unlicenced Nintendo games under Tengen name (wikipedia). Some other unlicenced cartridges avoided dealing with 10NES just by overloading it with high voltage signal, in contrast. It’s also noteworthy to mention that Famicom Disk System isn’t compatible with either top-loading or cassette loading NES consoles due the fact that RAM adapter can’t fit in cartridge slot without removing the top casing.
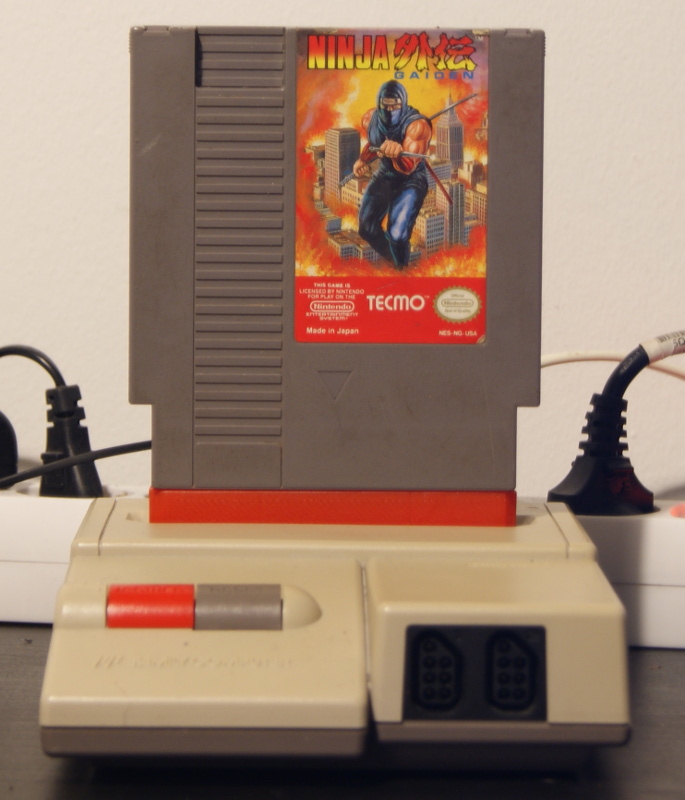
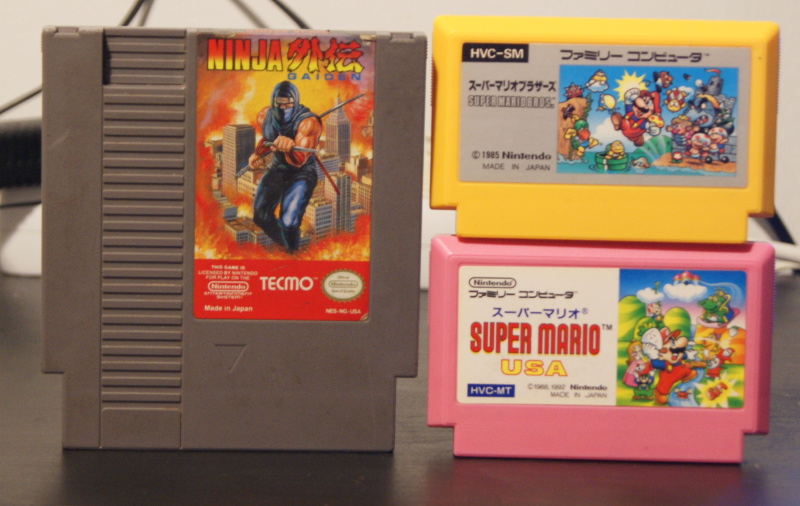
So, since my AV Famicom doesn’t have this 10NES chip, it’s possible to bootup NES games (which didn’t use the 10NES) with simple pin adapter. I actually have one with 3D printed casing I got off from my friend. The NES cartridges are quite big compared to my console, and about twice as tall compared to Famicom cartridges. Also fun thing to mention about the console itself is that while it has detachable controllers with the same controller port the NES uses, the cables are short. I’ve heard this is because people play sitting on the floor, near the television in Japan. I however just use the standard rectangular NES controller so I can sit on my couch and leave my Famicom next to the television.
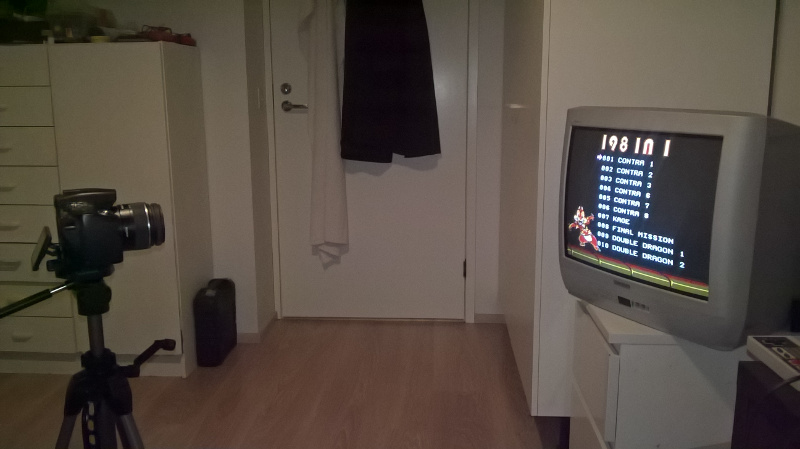
Speaking of televisions, I still use old CRT television for playing. The television itself is fairly standard ~20 ” CRT television from around the 90’s. It has one SCART port, which means if I want to hook up multiple consoles I need to use SCART switchbox or splitter. Haven’t really checked out what kinda video signals this specific television supports over SCART (altough I’ve heard it’s rare for televisions sold in Europe to have SCART but no RGB), but at least the picture quality from NES is decent enough. I also really like how it looks bit further out. There’s also actually legitimate reason to use CRTs with consoles like the NES; the output resolutions is tied to the NTSC/PAL resolution, which modern flat screen televisions will usually try to upscale. This can in fact add some display lag on your set, altough game modes can help migitating this issue. I also got this one for free, which is nice. Some people also use external upscaler, like XRGB Mini or OSSC to upscale the video output from the console. These upscalers are basically “faster” than what’s inside of televisions, which helps keeping the latency in levels that’s not hindering your gameplay.